
OCPP Proxy Demo
🔌 – Description Workflow OCPP Proxy Demo
A flow, to simply demonstrate the OCPP proxy functionality of the Exolink flow engine.
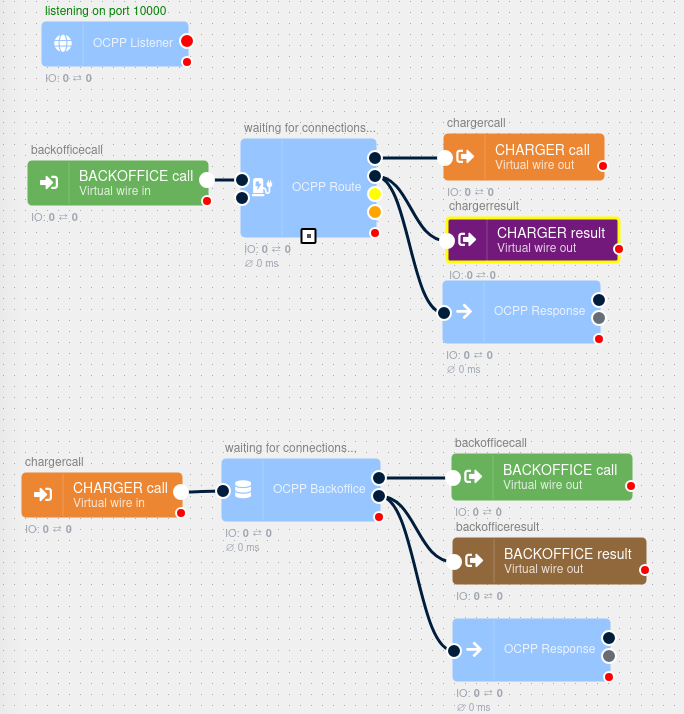
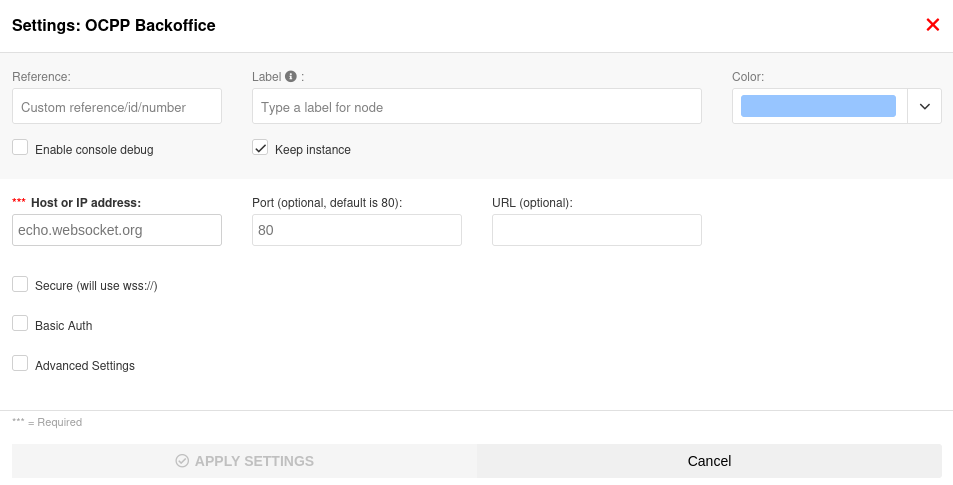
After importing this template you just need to configure the "OCPP Route" and the "OCPP Backoffice" component to your preferred settings.
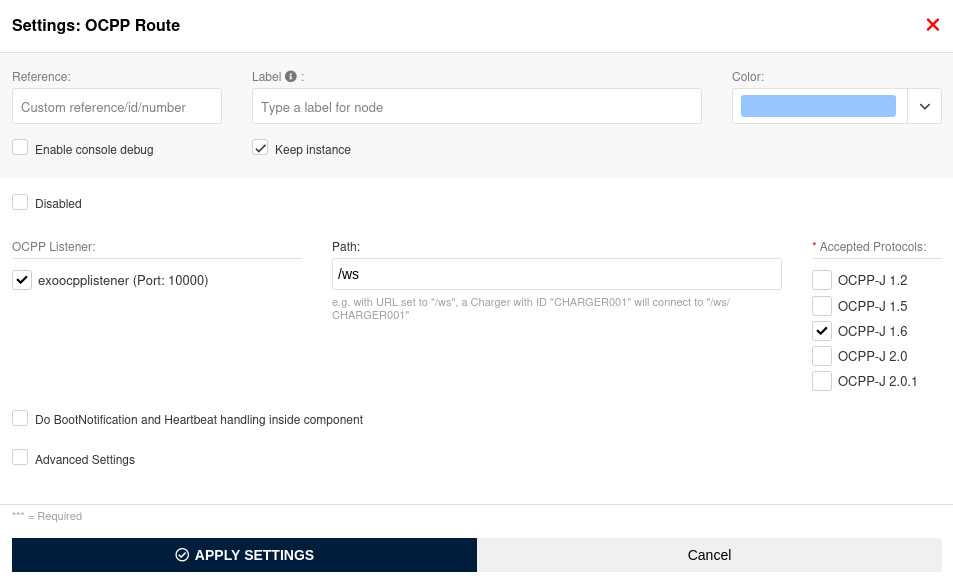
Connect a charger to the URL of your Exolink instance (e.g. ws://INSTANCEUUID.flow.exo.link:10000/ws/CHARGERID).
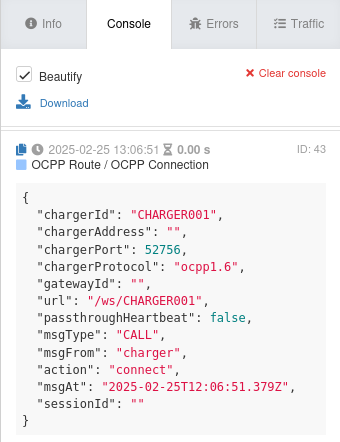
After that you will see messages coming in at the Console tab in the right sidebar.
That's it – have fun testing! 😊
✉️ – Support
We will be happy to help you 😊
We get back to you as soon as possible.
Updated 4 months ago